- All products
- Sensors & Modules
- FM
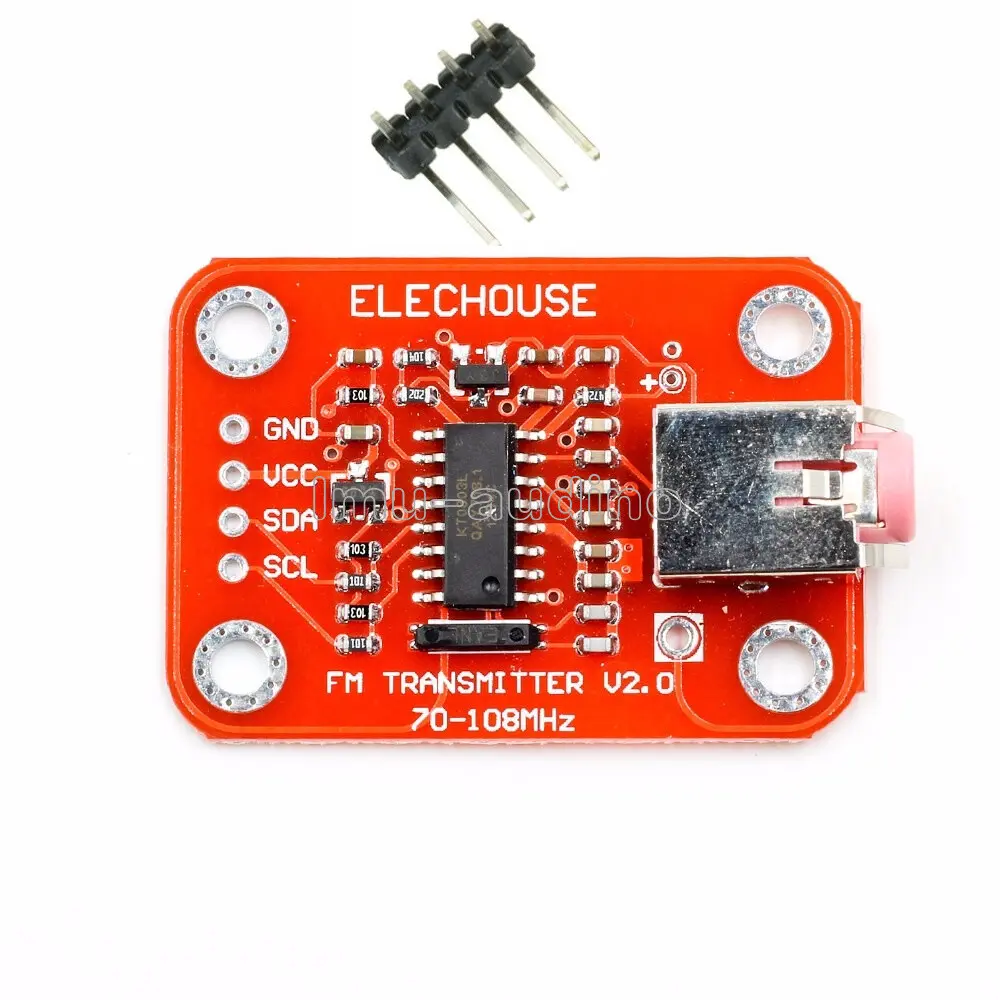
- FM Radio Station Transmitter Module for Arduino
- FM
Features:
- FM Transmission Range: 70MHz to 108MHz.
- Low Power Consumption: Operates with only 17mA current draw.
- I2C Control: Controlled via I2C (SDA, SCL) for flexible setup with Arduino or other microcontrollers.
- On-Chip Audio Processing: Built-in 20-bit audio ADC and DSP for enhanced audio signal processing.
- RF Power Amplification: Amplified FM signal is sent to the antenna via the RF out pin.
Specifications:
- I2C Interface: 5V TTL compatible.
- Plug and Play: Simple installation and use.
- Onboard Microphone: For capturing voice input directly.
- Power Supply: VCC input from 3.0V to 5.0V.
How It Works:
The module includes a stereo input jack and an onboard microphone. The microphone signal is amplified via a 9013 NPN transistor and then sent to the KT0803K transmitter IC. The internal clock is based on a 32.768KHz crystal for precise timing.
Connection with Arduino:
The module connects to an Arduino via a standard I2C interface:
| Arduino | FM Module |
|---|---|
| GND | GND |
| 5V | VCC |
| A4 | SDA |
| A5 | SCL |
Arduino Code Example:
Download the required library and install it in the Arduino IDE. Then upload the following code:
#include "FMTX.h"

float fm_freq = 90; // Default FM frequency

void setup(void) {
  Serial.begin(9600);
  Serial.print("FM-TX Demo\r\n");

  // Initialize FM channel (set region as needed)
  fmtx_init(fm_freq, USA);

  Serial.print("Channel:");
  Serial.print(fm_freq, 1);
  Serial.println("MHz");
}

void loop(void) {
  if (Serial.available()) {
    switch (Serial.read()) {
      case '&': {
        u8 i, buf[4];
        float ch;
        i = 0;
        delay(30);
        while (Serial.available() && i < 4) {
          buf[i] = Serial.read();
          if (buf[i] >= '0' && buf[i] <= '9') {
            i++;
          } else {
            i = 0;
            break;
          }
        }

        if (i == 4) {
          ch = (buf[0] - '0') * 100 + (buf[1] - '0') * 10 + (buf[2] - '0') + 0.1 * (buf[3] - '0');
          if (ch >= 70 && ch <= 108) {
            Serial.print("New Channel:");
            Serial.print(ch, 1);
            Serial.println("MHz");
            fmtx_set_freq(ch);
          } else {
            Serial.println("ERROR: Channel must be between 70MHz and 108MHz.");
          }
        } else {
          Serial.println("ERROR: Input Format Error.");
        }

        while (Serial.available()) {
          Serial.read();
        }
        break;
      }
    }
  }
}