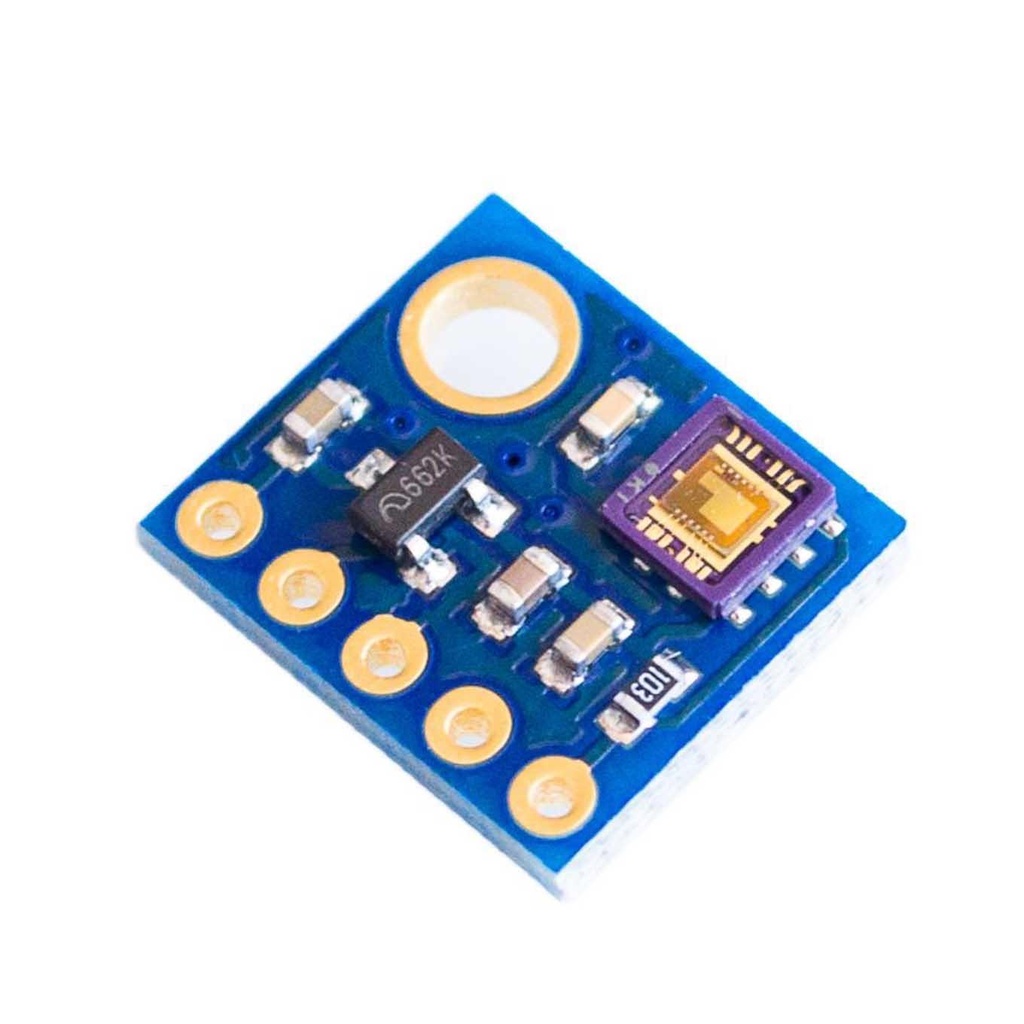
Light UV Ultraviolet Ray Detection Sensor Module GY-8511
Features:
- Linear analog voltage output related to measured UV intensity (mW/cm²)
- Detects UV light spectrum between 280-390nm effectively
- Compatible with any microcontroller having ADC, such as Arduino
- Low supply current: 300µA
- Low standby current: 0.1µA
- Compact 12-pin ceramic QFN package (4.0mm x 3.7mm x 0.73mm)
How It Works:
The ML8511 sensor contains a photodiode sensitive to UV-A and UV-B rays. An embedded operational amplifier converts the photocurrent generated by UV light intensity into an analog voltage output.
Wiring Diagram:
Below is the wiring diagram for connecting the GY-8511 UV sensor module to an Arduino:
The sensor has 5 pins: Vin, 3V3, GND, OUT, EN. Connect the EN and 3V3 pins to Arduino's 3.3V pin. The 3.3V pin is also connected to Arduino analog pin A1 (used as a reference voltage). The OUT pin connects to analog pin A0, and GND to GND.
The 16x2 LCD is connected with pins RS, EN, D4, D5, D6, D7 to Arduino pins 12, 11, 5, 4, 3, 2 respectively, powered by 5V. A 10K potentiometer is attached to LCD pin 3 to adjust contrast.
Arduino Code for ML8511 UV Sensor
#include <LiquidCrystal.h>

LiquidCrystal lcd(12, 11, 5, 4, 3, 2);

// Hardware pin definitions
int UVOUT = A0;   // Output from the sensor
int REF_3V3 = A1; // 3.3V power on the Arduino board

void setup() {
  Serial.begin(9600);
  lcd.begin(16, 2);
  pinMode(UVOUT, INPUT);
  pinMode(REF_3V3, INPUT);
  Serial.println("ML8511 example");
}

void loop() {
  int uvLevel = averageAnalogRead(UVOUT);
  int refLevel = averageAnalogRead(REF_3V3);

  // Use 3.3V power pin as reference for accurate sensor output
  float outputVoltage = 3.3 / refLevel * uvLevel;
  float uvIntensity = mapfloat(outputVoltage, 0.99, 2.8, 0.0, 15.0); // Convert voltage to UV intensity

  Serial.print("output: ");
  Serial.print(refLevel);
  Serial.print(" ML8511 output: ");
  Serial.print(uvLevel);
  Serial.print(" / ML8511 voltage: ");
  Serial.print(outputVoltage);
  Serial.print(" / UV Intensity (mW/cm^2): ");
  Serial.println(uvIntensity);

  lcd.clear();
  lcd.print("UV Ray Intensity");
  lcd.setCursor(0, 1);
  lcd.print(uvIntensity);
  lcd.print(" mW/cm^2");

  delay(200);
}

// Takes average of readings on given pin
int averageAnalogRead(int pinToRead) {
  byte numberOfReadings = 8;
  unsigned int runningValue = 0;
  for (int x = 0; x < numberOfReadings; x++) {
    runningValue += analogRead(pinToRead);
  }
  runningValue /= numberOfReadings;
  return runningValue;
}

float mapfloat(float x, float in_min, float in_max, float out_min, float out_max) {
  return (x - in_min) * (out_max - out_min) / (in_max - in_min) + out_min;
}