Features:
- Based on W5100 Ethernet Controller
- Supports 10/100 Base-TX Ethernet
- Half-duplex and full-duplex operation supported
- Auto-negotiation and auto cross-over detection
- IEEE 802.3/802.3u compliant
- Supports up to 4 simultaneous socket connections
- Includes hardware TCP/IP stack
- Supports both MCU bus interface and SPI interface
- 5V supply voltage, signal levels 3.3V and 5V tolerant
- Compatible with Arduino IDE's Ethernet Library
Specifications:
- Power Supply: 5V
- Signal Voltage: 3.3V/5V tolerant
- Dimensions: 54mm x 30mm x 17mm
- Temperature Range: 0 ~ 70℃ (operation), -40 ~ 85℃ (storage)
- Socket API support for simplified application development
Hardware Protocols Supported:
- Internet: TCP, UDP, ICMP, IPv4, ARP, IGMP, PPPoE
- Ethernet: MAC, DLC
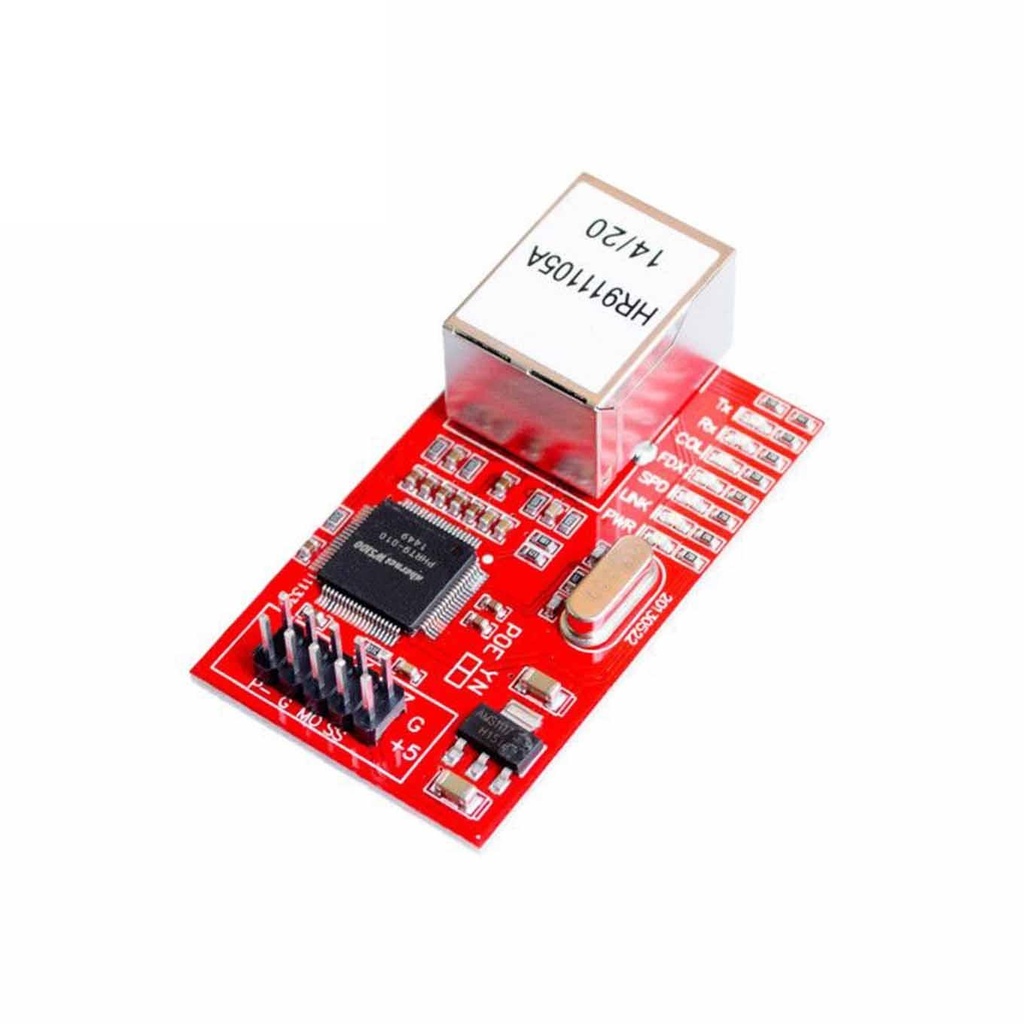
Pin Interface:
- Two 2x10 headers with 2.54mm pitch
- SPI interface for Arduino communication
Arduino Compatibility:
- Works with Arduino UNO, Nano, Mega, etc.
- Uses SPI pins: UNO (D11–D13), Mega (D50–D52)
- Pin 10 is used as SS (Slave Select)
- On Mega, pin 53 must be set as an output (even if unused)
Wiring Diagram:
Connection Guide (Arduino Nano):
- Connect 5V and GND of Nano to +5V and GND of Ethernet module
- Connect Nano pins:
- D13 → SCK (Clock)
- D12 → MISO (Master In Slave Out)
- D11 → MOSI (Master Out Slave In)
- D10 → SS (Slave Select)
- D9 → RESET (optional)
Example: Control LED via Web Page
#include <SPI.h>
#include <Ethernet.h>

byte mac[] = { 0xDE, 0xAD, 0xBE, 0xEF, 0xFE, 0xED };
byte ip[] = { 192, 168, 0, 12 };
byte gateway[] = { 192, 168, 0, 1 };
byte subnet[] = { 255, 255, 255, 0 };

EthernetServer server(80);
String readString;
int ledPin = 2;

void setup() {
  pinMode(ledPin, OUTPUT);
  Ethernet.begin(mac, ip, gateway, subnet);
  server.begin();
}

void loop() {
  EthernetClient client = server.available();
  if (client) {
    while (client.connected()) {
      if (client.available()) {
        char c = client.read();
        if (readString.length() < 100) {
          readString += c;
        }

        if (c == '\n') {
          client.println("HTTP/1.1 200 OK");
          client.println("Content-Type: text/html");
          client.println();
          client.println("<html><body>");
          client.println("<h1>Arduino Ethernet LED Control</h1>");
          client.println("<a href='/?LEDON'>Turn On LED</a><br>");
          client.println("<a href='/?LEDOFF'>Turn Off LED</a>");
          client.println("</body></html>");

          if (readString.indexOf("?LEDON") > -1) {
            digitalWrite(ledPin, HIGH);
          } else if (readString.indexOf("?LEDOFF") > -1) {
            digitalWrite(ledPin, LOW);
          }

          delay(1);
          client.stop();
          readString = "";
        }
      }
    }
  }
}
Notes:
- This module can act as both client and server
- Arduino Ethernet Library supports this module directly
- Ensure your IP configuration matches your local network setup
Features:
- Based on W5100 Ethernet Controller
- Supports 10/100 Base-TX Ethernet
- Half-duplex and full-duplex operation supported
- Auto-negotiation and auto cross-over detection
- IEEE 802.3/802.3u compliant
- Supports up to 4 simultaneous socket connections
- Includes hardware TCP/IP stack
- Supports both MCU bus interface and SPI interface
- 5V supply voltage, signal levels 3.3V and 5V tolerant
- Compatible with Arduino IDE's Ethernet Library
Specifications:
- Power Supply: 5V
- Signal Voltage: 3.3V/5V tolerant
- Dimensions: 54mm x 30mm x 17mm
- Temperature Range: 0 ~ 70℃ (operation), -40 ~ 85℃ (storage)
- Socket API support for simplified application development
Hardware Protocols Supported:
- Internet: TCP, UDP, ICMP, IPv4, ARP, IGMP, PPPoE
- Ethernet: MAC, DLC
Pin Interface:
- Two 2x10 headers with 2.54mm pitch
- SPI interface for Arduino communication
Arduino Compatibility:
- Works with Arduino UNO, Nano, Mega, etc.
- Uses SPI pins: UNO (D11–D13), Mega (D50–D52)
- Pin 10 is used as SS (Slave Select)
- On Mega, pin 53 must be set as an output (even if unused)
Wiring Diagram:
Connection Guide (Arduino Nano):
- Connect 5V and GND of Nano to +5V and GND of Ethernet module
- Connect Nano pins:
- D13 → SCK (Clock)
- D12 → MISO (Master In Slave Out)
- D11 → MOSI (Master Out Slave In)
- D10 → SS (Slave Select)
- D9 → RESET (optional)
Example: Control LED via Web Page
#include <SPI.h>
#include <Ethernet.h>

byte mac[] = { 0xDE, 0xAD, 0xBE, 0xEF, 0xFE, 0xED };
byte ip[] = { 192, 168, 0, 12 };
byte gateway[] = { 192, 168, 0, 1 };
byte subnet[] = { 255, 255, 255, 0 };

EthernetServer server(80);
String readString;
int ledPin = 2;

void setup() {
  pinMode(ledPin, OUTPUT);
  Ethernet.begin(mac, ip, gateway, subnet);
  server.begin();
}

void loop() {
  EthernetClient client = server.available();
  if (client) {
    while (client.connected()) {
      if (client.available()) {
        char c = client.read();
        if (readString.length() < 100) {
          readString += c;
        }

        if (c == '\n') {
          client.println("HTTP/1.1 200 OK");
          client.println("Content-Type: text/html");
          client.println();
          client.println("<html><body>");
          client.println("<h1>Arduino Ethernet LED Control</h1>");
          client.println("<a href='/?LEDON'>Turn On LED</a><br>");
          client.println("<a href='/?LEDOFF'>Turn Off LED</a>");
          client.println("</body></html>");

          if (readString.indexOf("?LEDON") > -1) {
            digitalWrite(ledPin, HIGH);
          } else if (readString.indexOf("?LEDOFF") > -1) {
            digitalWrite(ledPin, LOW);
          }

          delay(1);
          client.stop();
          readString = "";
        }
      }
    }
  }
}
Notes:
- This module can act as both client and server
- Arduino Ethernet Library supports this module directly
- Ensure your IP configuration matches your local network setup