- All products
- Development Boards
- Wemos
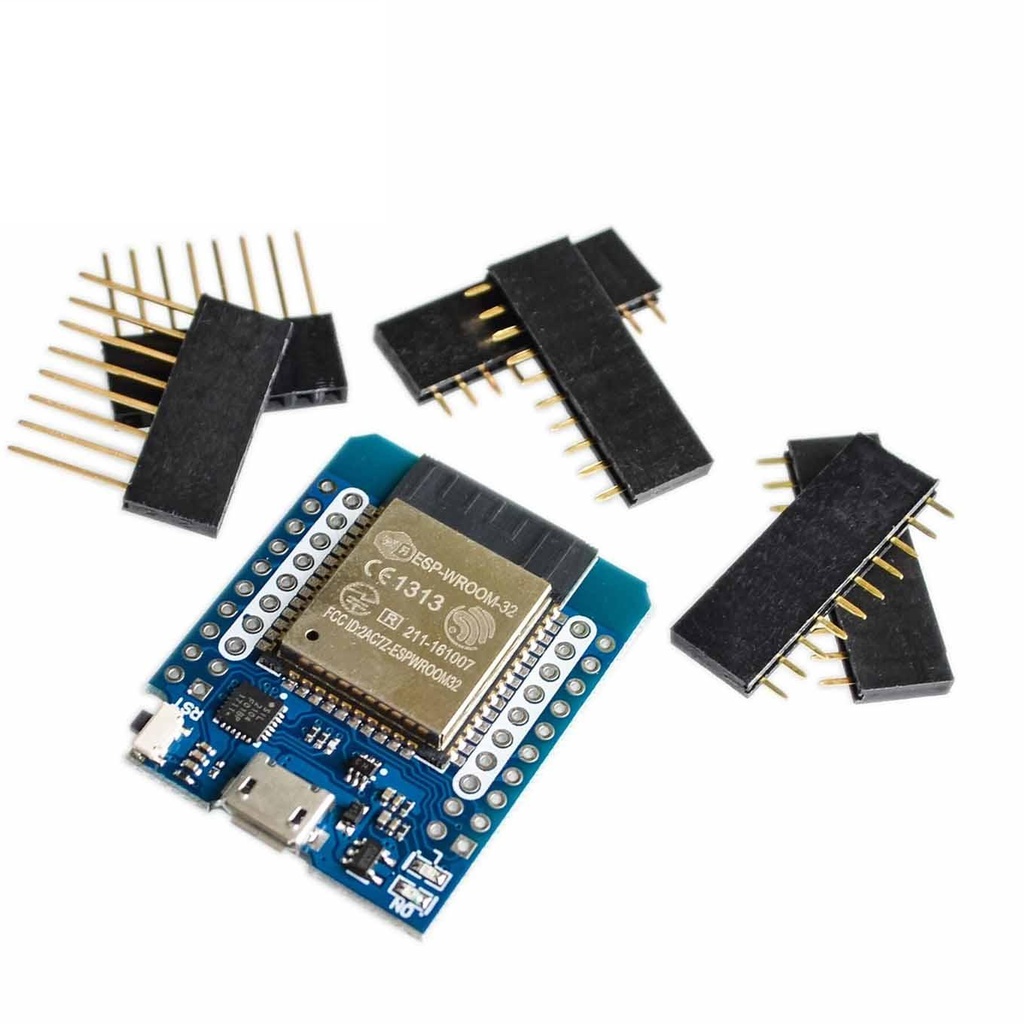
- ESP32 MH-ET LIVE MiniKit (Wemos D1 Mini Compatible)
- Wemos
Specifications:
-
Current – Receiving: 80 mA
-
Voltage – Supply: 2.2 V ~ 3.6 V
-
Current – Transmitting: 80 mA
-
Data Rate: 54 Mbps
-
Frequency: 2.4 GHz (WiFi)
-
Mounting Type: Surface Mount
-
Operating Temperature: -40°C ~ 85°C
-
Power – Output: 16.5 dBm
-
Protocol: 802.11b/g/n/d/e/i (WiFi)
-
RF Family/Standard: WiFi
-
Sensitivity: -98 dBm
-
Serial Interfaces: I²C, I²S, SPI, UART
-
Integrated 520 KB SRAM
-
Hybrid Wi-Fi & Bluetooth
-
High Level of Integration
-
Ultra-Low-Power Management
-
4 MB Flash Memory
-
On-Board PCB Antenna
Applications of ESP32 MH-ET LIVE MiniKit:
-
Home Automation: Control lights, appliances, and other home devices remotely.
-
Industrial Wireless Control: Suitable for managing industrial automation processes.
-
RC Toys: Great for remote-controlled toys and vehicles.
-
Wearable Electronics: Can be used in smart wearables for tracking, notifications, etc.
-
Low Power IoT Sensor Hub: Ideal for building energy-efficient sensor networks.
-
Mesh Networking: Allows devices to communicate with each other in a mesh network setup.
-
Video Streaming: Supports video streaming applications, including cameras and related setups.
-
OTT TV Box / Set-Top Box: Can be used as a low-cost smart TV box or streaming device.
-
Wireless Speech Recognition: Helps in creating voice-controlled devices.
-
Wireless Location-Aware Devices: Supports GPS-based and location-specific features.
Pin Configuration:
| Pin | Default Configuration | Optional Modules | Remarks / Prerequisites | Configuration |
|---|---|---|---|---|
| GPIO2 | PWM_DEV(0):0 / LED Blue | PWM Channels | ||
| GPIO0 | PWM_DEV(0):1 | PWM Channels | ||
| GPIO4 | PWM_DEV(0):2 | PWM Channels | ||
| GPIO15 | PWM_DEV(0):3 | PWM Channels | ||
| GPIO22 | I2C_DEV(0):SCL | I2C Interfaces | ||
| GPIO21 | I2C_DEV(0):SDA | I2C Interfaces | ||
| GPIO18 | SPI_DEV(0):SCK | SPI Interfaces | ||
| GPIO19 | SPI_DEV(0):MISO | SPI Interfaces | ||
| GPIO23 | SPI_DEV(0):MOSI | SPI Interfaces | ||
| GPIO5 | SPI_DEV(0):CS0 | SD Card CS | When using sdcard_spi module | SPI Interfaces |
| GPIO1 | UART_DEV(0):TxD | Console (fixed configuration) | UART Interfaces | |
| GPIO3 | UART_DEV(0):RxD | Console (fixed configuration) | UART Interfaces | |
| GPIO9 | UART_DEV(1):TxD | UART Interfaces | ||
| GPIO10 | UART_DEV(1):RxD | UART Interfaces | ||
| GPIO34 | ADC_LINE(0) | ADC Channels | ||
| GPIO35 | ADC_LINE(1) | ADC Channels | ||
| GPIO36 | ADC_LINE(2) | ADC Channels | ||
| GPIO39 | ADC_LINE(3) | ADC Channels | ||
| GPIO25 | DAC_LINE(0) | DAC Channels | ||
| GPIO13 | - | |||
| GPIO12 | - | |||
| GPIO14 | - | |||
| GPIO16 | - | MRF24J40 RESET | When using mrf24j40 module | |
| GPIO17 | - | MRF24J40 INT | When using mrf24j40 module | |
| GPIO26 | - | MRF24J40 CS | When using mrf24j40 module | |
| GPIO27 | - | |||
| GPIO32 | - | |||
| GPIO33 | - |
Installing the Board Definitions:
-
Open the Arduino IDE and go to Preferences.
-
In the Additional Board Manager URLs field, add:
https://dl.espressif.com/dl/package_esp32_index.json. -
Go to Tools > Board > Boards Manager and search for esp32.
-
Select version 1.0.1 and click Install.
Selecting the Board and Port:
-
Go to Tools > Board, and select MH ET LIVE ESP32 MiniKit (you may need to scroll down to find it).
-
Ensure that Tools > Upload Speed is set to 115200.
-
Select the correct port under Tools > Port:
-
On Mac OS:
/dev/tty.usb.modem8232or/dev/cu.SLAB_USB_toUART. -
On Windows:
Com4orCom3. -
On Linux:
/dev/ttyUSB0or/dev/ttyACM0.
-
If the port is not showing, ensure you're using a data transfer USB cable (not a charge-only cable). If the port still isn't visible, you may need to install USB to UART Bridge VCP drivers for your operating system.
Once the drivers are installed, restart the Arduino IDE to detect the port properly.