Motor Dc Mini Vibration Disk
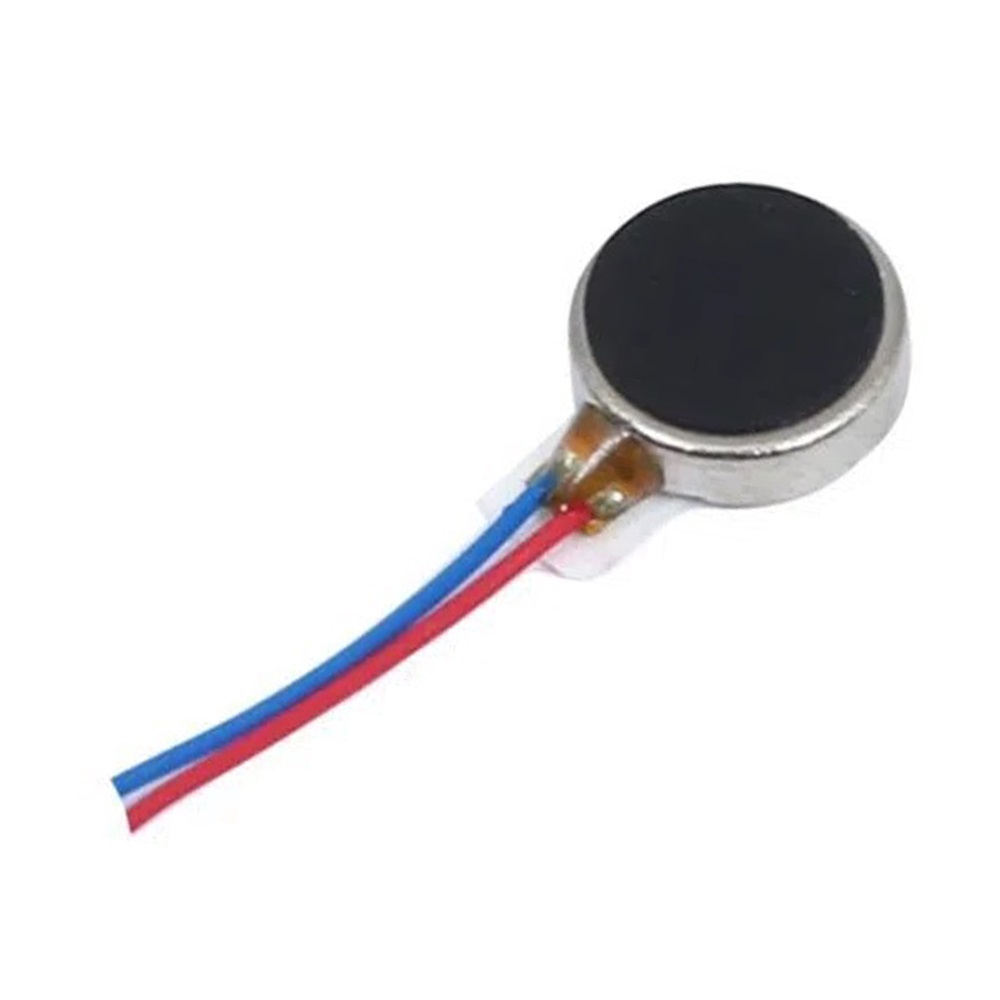
This compact and simple vibration motor is perfect for projects requiring tactile feedback or vibration alerts. Encased in a sealed disc form, the motor is easy to integrate and can be powered directly from a battery or microcontroller. Simply connect the red wire to the positive voltage and the blue wire to the negative, and the motor will vibrate. Suitable for a wide range of voltages (2V–5V), higher voltages provide stronger vibrations. Use a resistor in series if you wish to reduce current draw and vibration strength.
Package Includes
- 1 x Vibration Motor Disc
Specifications
- Operating Voltage: 2V to 5V
- Wiring: Red (+), Blue (–)
- Form Factor: Compact sealed disc
- Current Draw: Approx. 75mA at 5V
- Resistor Optional: 100Ω to 1000Ω in series to reduce vibration strength
Applications
- Wearable electronics
- DIY vibration alert systems
- Haptic feedback in controllers
- Alarm signaling and remote indicators
- Silent notification systems
Example Arduino Circuit
To safely drive the vibration motor from an Arduino, use a transistor to amplify the current:
- Parts Required:
- Arduino Board
- Vibration Motor
- 2N2222 NPN Transistor
- 1N4001 Diode (for flyback protection)
- 1KΩ Resistor (base resistor for transistor)
- 0.1µF Ceramic Capacitor
- USB Connector or power supply
Connection Diagram:

Arduino Code Example
const int motorPin = 3;

void setup() {
  pinMode(motorPin, OUTPUT);
}

void loop() {
  digitalWrite(motorPin, HIGH);
  delay(1000);         // Vibrate for 1 second
  digitalWrite(motorPin, LOW);
  delay(59000);        // Wait for 59 seconds
}
Specifications
- Operating Voltage: 2V to 5V
- Wiring: Red (+), Blue (–)
- Form Factor: Compact sealed disc
- Current Draw: Approx. 75mA at 5V
- Resistor Optional: 100Ω to 1000Ω in series to reduce vibration strength
Applications
- Wearable electronics
- DIY vibration alert systems
- Haptic feedback in controllers
- Alarm signaling and remote indicators
- Silent notification systems
Example Arduino Circuit
To safely drive the vibration motor from an Arduino, use a transistor to amplify the current:
- Parts Required:
- Arduino Board
- Vibration Motor
- 2N2222 NPN Transistor
- 1N4001 Diode (for flyback protection)
- 1KΩ Resistor (base resistor for transistor)
- 0.1µF Ceramic Capacitor
- USB Connector or power supply
Connection Diagram:
Arduino Code Example
const int motorPin = 3;

void setup() {
  pinMode(motorPin, OUTPUT);
}

void loop() {
  digitalWrite(motorPin, HIGH);
  delay(1000);         // Vibrate for 1 second
  digitalWrite(motorPin, LOW);
  delay(59000);        // Wait for 59 seconds
}