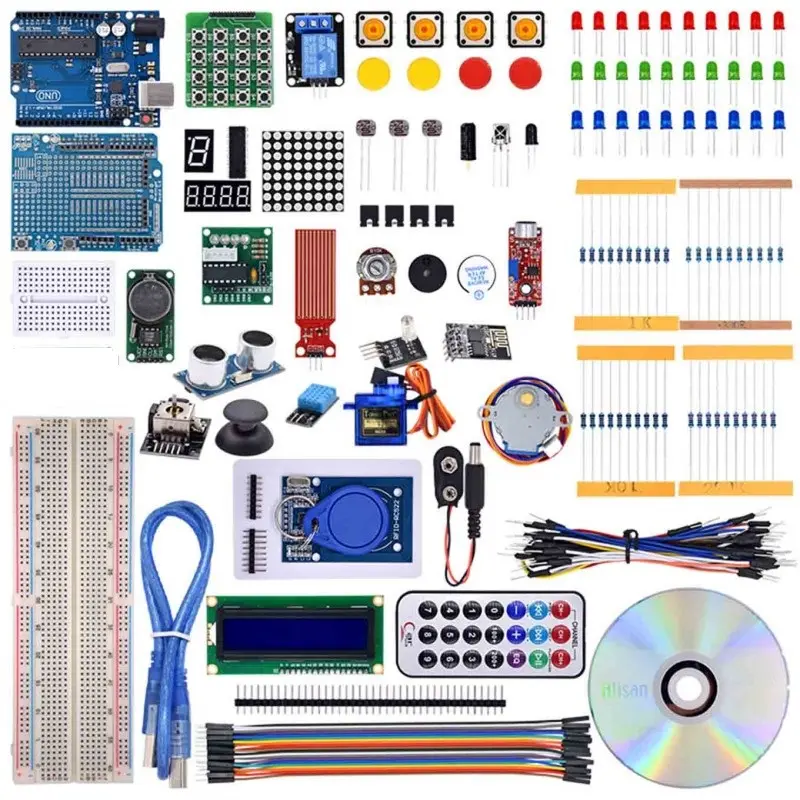
Connecting the RC522 RFID Module:
The RC522 RFID Module is a vital part of this kit. Here's how to connect it to your Arduino:
- Connect the VCC pin on the RC522 module to the 3.3V pin on the Arduino.
- Connect the GND pin on the RC522 module to the ground (GND) pin on the Arduino.
- Connect the RST pin on the RC522 module to any digital pin on the Arduino (e.g., digital pin #5 in this example).
- Leave the IRQ pin on the RC522 module unconnected, as the Arduino library used does not support it.
For Arduino UNO/Nano V3.0:
- SCK: Digital pin 13
- MISO: Digital pin 12
- MOSI: Digital pin 11
- SS: Digital pin 10
Once you've made these connections, you're ready to go!
Using Arduino to Read RFID Tags:
To interact with the RC522 RFID module, we recommend using the MFRC522 library, which simplifies reading from and writing to RFID tags. Follow these steps:
- Download and install the MFRC522 library:
- Open the Arduino IDE.
- Go to the "Sketch" menu, choose "Include Library" > "Manage Libraries..."
- Search for "MFRC522" in the Library Manager.
- Click "Install" next to the MFRC522 library.
- Wait for installation to complete.
- Confirmation message: "Library MFRC522 installed"
- Open the Examples submenu and select MFRC522 > DumpInfo example sketch.
- Ensure that the
RST_PIN is correctly initialized (e.g., digital pin #5).
- Upload the sketch to the Arduino board and open the Serial Monitor.
- Bring the RFID tag closer to the RC522 module, and you'll see tag information displayed in the Serial Monitor.
Note: Ensure the tag remains stationary until all information is fully displayed.
