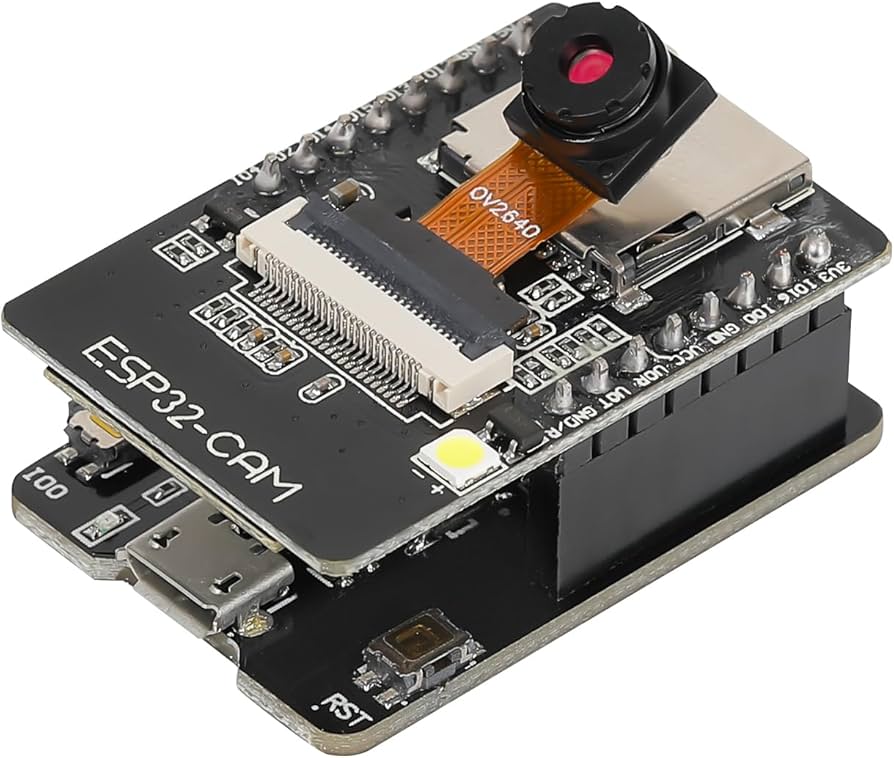
Specifications:
- IO port: 9
- Power supply: 5V 2A
- SPI Flash: Default 32Mbit
- Dimension: 27x40mm (1.06x1.57in)
- RAM: Built-in 520KB SRAM + 4MB PSRAM
- Wi-Fi: 802.11b/g/n/e/i
- Bluetooth: Bluetooth 4.2 BR/EDR and BLE standards
- Spectrum Range: 2412~2484MHz
- Support TF card: Maximum support 4G
- Support Interface: UART, SPI, I2C, PWM
- Serial Port Baud-rate: Default 115200 bps
- Antenna: Onboard PCB antenna, gain 2dBi
- Security: WPA/WPA2/WPA2-Enterprise/WPS
- Image Output Format: JPEG (OV2640 support only), BMP, GRAYSCALE
Features:
- Supports WiFi Image Upload.
- Support for multiple sleep modes.
- Embedded Lwip and FreeRTOS.
- Support secondary development.
- Supports STA/AP/STA+AP working modes.
- Supports OV2640 and OV7670 cameras, with built-in flash.
- Supports Smart Config/AirKiss one-click network configuration.
- Clock speed up to 160 MHz, with computing power up to 600 DMIPS.
- Support for serial port local and remote firmware upgrades (FOTA).
How to start with the ESP32 board:
Install the CH340C driver on Windows for your ESP32 board:
- Download the CH340C driver.
- Extract the downloaded zip file to a folder.
- Run the setup file as administrator.
- Follow the on-screen instructions to complete the installation.
- Open Device Manager and check for "USB-SERIAL CH340" in the Ports section.
- If successful, reconnect your ESP32 board to the USB port.
- Confirm the ESP32 board recognition in the Arduino IDE under "Tools" > "Port."
Integrating the ESP32 board into your Arduino IDE:
Open your Arduino IDE and navigate to File > Preferences.
- In the "Additional Board Manager URLs" field, input the following URL:
https://raw.githubusercontent.com/espressif/arduino-esp32/gh-pages/package_esp32_index.json
Then, click the OK button.
Note: If you already have the ESP8266 board URL, you can include both URLs, separating them with a comma, like this:
https://raw.githubusercontent.com/espressif/arduino-esp32/gh-pages/package_esp32_index.json, http://arduino.esp8266.com/stable/package_esp8266com_index.json
- Open the Boards Manager by going to Tools > Board > Boards Manager....
- In the Boards Manager, type ESP32 in the search bar. Press the install button for the ESP32 by Espressif Systems.
- Wait a few seconds for the installation to complete.